Is your Litter Robot acting up? If you’ve noticed it’s not detecting your cat correctly or leaving waste behind, it might be time to replace the sensors.
Replacing the sensors can restore your Litter Robot to its original efficiency. This article will guide you through identifying sensor issues and choosing the right replacement. (1)
You’ll learn the step-by-step process to replace the sensor, ensuring your Litter Robot works like new. We’ll also cover post-replacement testing and troubleshooting to avoid any hiccups.
Sensor maintenance tips are included to keep your device running smoothly for a long time. Keep reading to find out which sensor you need, how to install it, and how to keep everything in top shape. (2)
Key Takeaways
- Identify when to replace your sensors to maintain efficiency.
- Follow a clear guide to replace sensors correctly.
- Learn maintenance tips to prolong sensor life.
Litter Robot Sensor Replacement: Identifying Sensor Issues
Common Signs of Sensor Malfunction
- Inconsistent Cleaning Cycles: Is it scooping only sometimes? That’s a red flag.
- Error Messages on Display: Annoying but helpful. Pay attention to them.
- Unusual Noises During Operation: Grinding, buzzing, or anything out of the ordinary.
Diagnostic Steps to Confirm Sensor Problems
Visual Inspection: Start by simply looking at the sensors. Are they dirty?
Running Diagnostic Tests: Your Litter Robot manual will guide you through it.
Checking Error Codes: Use the error code table from your manual to identify specific issues.
Choosing the Right Replacement Sensor
Compatibility with Litter Robot Models
- Litter-Robot 3: Make sure the sensor is designed for this model. Double-check the product description.
- Litter-Robot 4: Only certain sensors work with this model. Look for “compatible with Litter-Robot 4” in the product details.
Where to Purchase Replacement Sensors
You want to ensure you’re buying a genuine part. Here are some options:
- Official Litter Robot Website
- They offer guaranteed genuine parts.
- Often have customer support for assistance.
- Authorized Retailers
- Check the retailer list on the official site.
- Avoid non-authorized sellers to prevent fake parts.
- Online Marketplaces
- Sites like Amazon and eBay can have the parts you need.
- Look for reputable sellers with good reviews.
- Double-check compatibility and authenticity before buying.
These tips will help you choose the right sensor for your Litter Robot, ensuring it works perfectly!
Step-by-Step Guide to Replacing the Sensor
Tools Needed for Sensor Replacement
Safety Precautions Before Starting
Unplug the Unit: Always unplug the Litter Robot before you start working. Safety first!
Handle Electronic Components Carefully: Static electricity can damage electronic parts. Touch a metal object to discharge any static before handling components. (5)
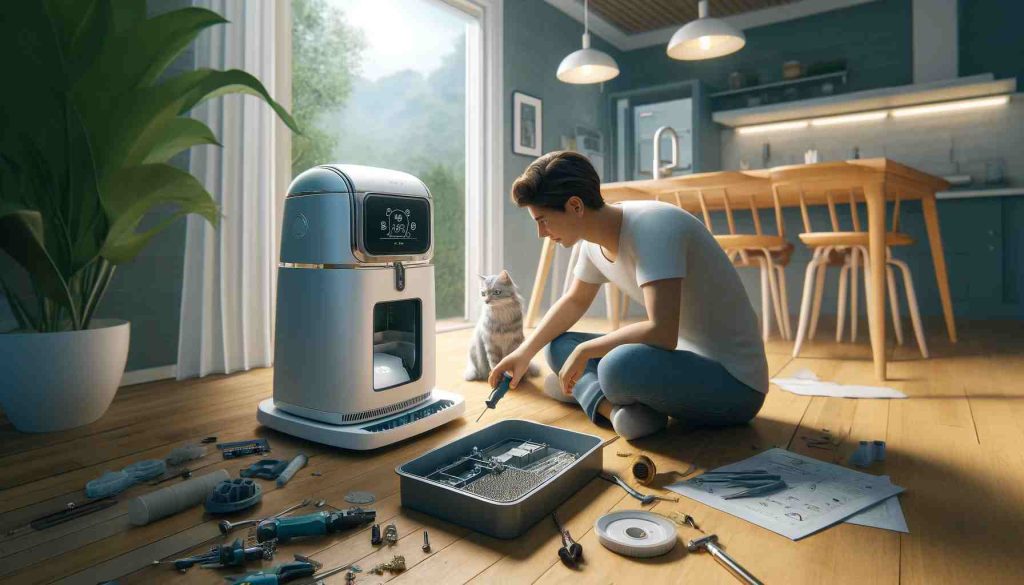
Detailed Replacement Process
- Removing the Old Sensor:
- Unscrew the battery compartment cover using a screwdriver.
- Carefully lift the old sensor out.
- Cleaning the Area:
- Use cleaning supplies to remove any dust or debris.
- Ensure the area is completely dry before installing the new sensor.
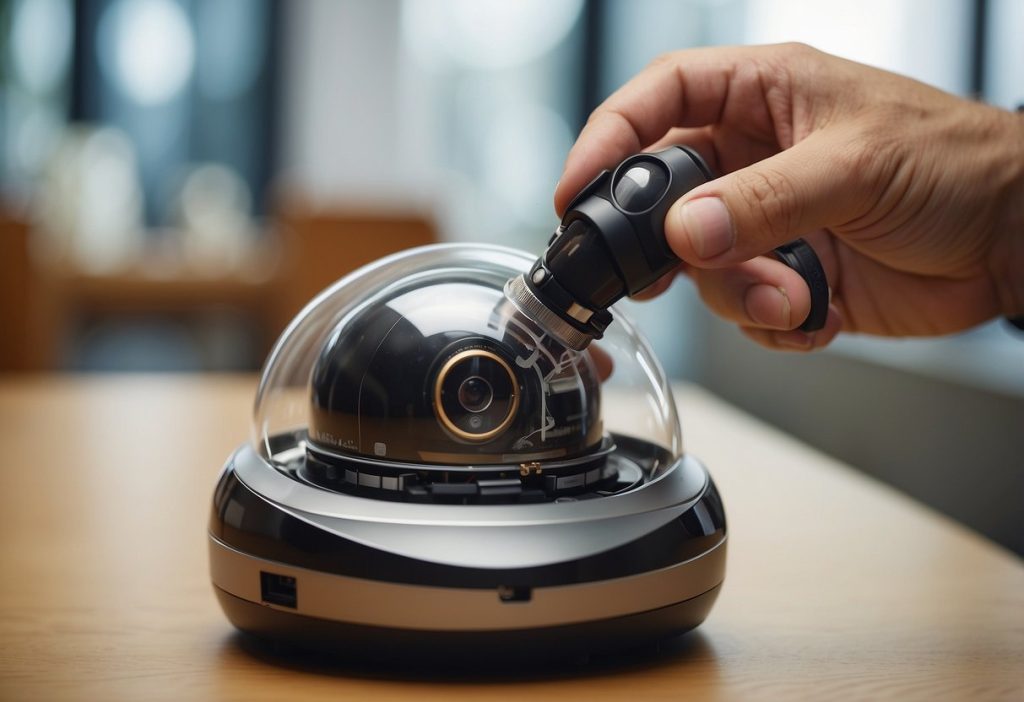
- Installing the New Sensor:
- Place the new sensor in the same position as the old one.
- Secure it with screws provided in the replacement sensor kit.
- Reassembling the Litter Robot:
- Put the unit back together.
- Screw the battery compartment cover back on.
- Plug it in and test to ensure it’s working properly.
And that’s it! You’re now ready to enjoy a fully functioning Litter Robot once again.
Post-Replacement Testing and Troubleshooting

Testing the New Sensor First off, let’s see if that new sensor works! Make sure everything’s put together nicely. Plug in your Litter Robot and power it on. Does it start up smoothly?
Running a Full Cleaning Cycle Run a full cleaning cycle. Watch the robot closely. Is it cycling through without stops or errors? If yes, that’s a good sign!
Monitoring for Error Messages Keep an eye out for any error messages on the display. No errors? Great! If there are errors, don’t worry just yet.
Troubleshooting Common Issues Post-Replacement When things aren’t perfect, here’s what to check:
- Sensor Not Responding: Make sure the sensor is properly connected. Check the wiring and connectors.
- Continuous Error Messages: A continuous error message might mean the sensor is faulty. Double-check the installation, and, if needed, re-install the sensor. (6)
- Unusual Behavior: Is the robot acting funny? Maybe cycling too often or not at all? Ensure the sensor is clean and free from debris.
A good old factory reset sometimes works wonders! If all else fails, consider contacting customer support for more help.
Remember, trusting your instincts and taking one step at a time can make troubleshooting less stressful. You’ve got this!
Technical Specifications and Compatibility

Types of Sensors
The Litter Robot uses infrared sensors to detect waste levels. These sensors ensure the robot cycles properly. There are also weight sensors that detect when your cat enters and exits.
Sensor Specifications
- Infrared Sensor: Detects waste levels (7)
- Weight Sensor: Measures cat’s presence with high accuracy
- Power Consumption: Less than 10W
- Voltage: 15V
Compatibility
Let’s talk about which Litter Robot models these sensors work with.
| Sensor Type | Compatible Models |
|---|---|
| Infrared Sensor | Litter-Robot 3, Litter-Robot 4 |
| Weight Sensor | Litter-Robot 3, Litter-Robot 4 |
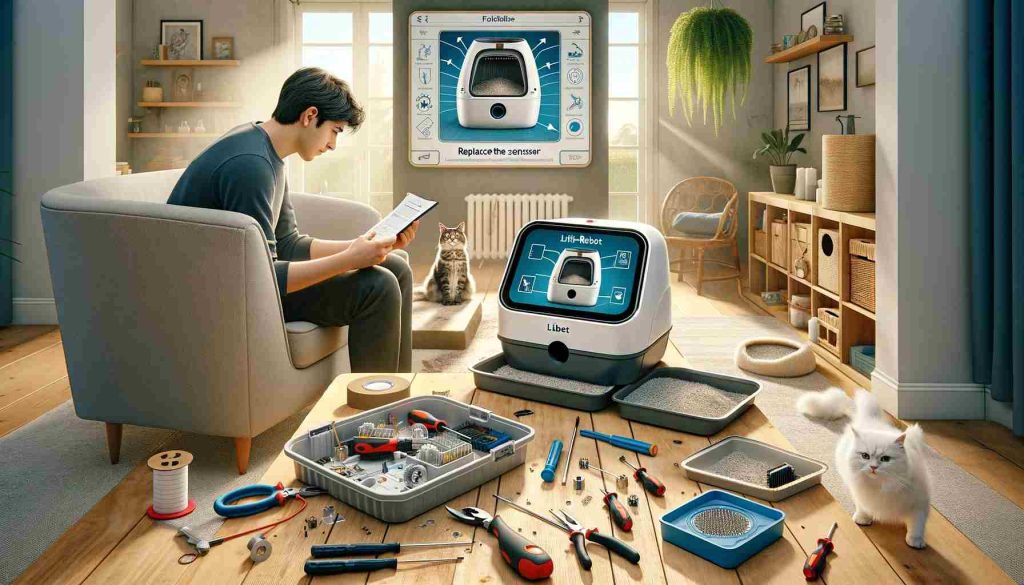
Installation Tips
Don’t worry, installing the new sensors is easy. You’ll need a few common tools like a screwdriver. Follow the user manual for step-by-step instructions.
Remember, the right sensor ensures your Litter Robot functions properly. Always check compatibility before you buy a new sensor. Stick to the specifications to keep your unit running smoothly.
Got any questions? Reach out to customer support for help!
Maintenance Tips for Litter Robot Sensors

Regular Cleaning and Inspection
Cleaning Frequency
Keep those sensors happy by doing regular cleaning. A quick wipe once a week with a damp cloth can work wonders. The more often you clean, the better. Aim for at least once a week.
Visual Checks for Damage
Every time you clean, give the sensors a quick look. Check for any cracks or debris that might be stuck.
Tips to Prolong Sensor Life
Handle the sensors with care. Think of them as delicate little machines.
Avoiding Moisture Exposure
Water is the enemy. Never let the sensors get wet. Use only a slightly damp cloth for cleaning.
Proper Handling During Cleaning
Treat the sensors gently. No need for harsh chemicals or rough scrubbing. Just a simple, soft touch will do.
Quick Recap

Key Steps:
- Unplug Your Litter Robot: Safety first! Always unplug before starting.
- Access the Sensor Compartment: Usually located under the litter tray.
- Remove the Old Sensor: Follow the manual instructions to safely take it out.
- Install the New Sensor: Place it in the same spot as the old one.
- Test the Sensor: Plug in and run a test cycle.
Tools You Might Need:
- Screwdriver
- Replacement sensor from the official Litter Robot support
Maintenance Tips:
Regularly clean your Litter Robot to avoid sensor issues. Wipe the sensor gently to remove dust or debris.
Benefits:
- Longevity: Timely replacement can extend the life of your Litter Robot.
- Efficiency: Ensures your Litter Robot works correctly, saving you time and hassle.
For detailed instructions, always refer to the user manual or contact official Litter Robot support.
Additional Resources:
- User Manuals: Available on the Litter Robot website
- Official Support: Reach out for any troubleshooting help
Keep these tips in mind to make sure your Litter Robot runs like new!
Frequently Asked Questions
What are the signs that my Litter-Robot sensor needs replacement?
If your Litter-Robot is not cycling properly, or your cat’s presence isn’t detected, it might be time to replace the sensor.
Another sign is if the indicator lights are blinking erratically.
How do I identify which sensor needs to be replaced?
Refer to your Litter-Robot manual or the manufacturer’s website. They often provide detailed troubleshooting steps.
Checking error codes and patterns is the key to identifying the faulty sensor.
Where can I purchase genuine replacement sensors for my Litter-Robot?
Genuine parts can be purchased directly from the Litter-Robot official website. Some authorized online retailers also stock these sensors.
Always check for authenticity to avoid subpar replacements.
How do I replace the cat presence sensor in my Litter-Robot?
First, unplug the Litter-Robot. Follow the step-by-step instructions available in the manual or on the official website. Usually, this involves removing the bonnet, accessing the sensor, and replacing it with a new one.
What tools do I need to replace a sensor in my Litter-Robot?
Typically, you will need a screwdriver and possibly a pair of pliers. Always check the specific instructions for your model.
Having the right tools makes the replacement process smoother.
How do I troubleshoot issues after replacing the sensor?
If the Litter-Robot doesn’t work correctly after sensor replacement, double-check connections. Ensure that all parts are properly aligned.
If problems persist, consult customer support or refer to troubleshooting guides online.
What precautions should I take when replacing a sensor?
Turn off and unplug your Litter-Robot before starting. Handle all parts carefully to avoid damage. Follow the instructions closely, and don’t force anything into place.
Being gentle and precise is the key to a successful replacement.

- Where to find the most trustworthy real money casinos - August 7, 2025
- Online Casinos That Approve PayPal: The Ultimate Overview - August 7, 2025