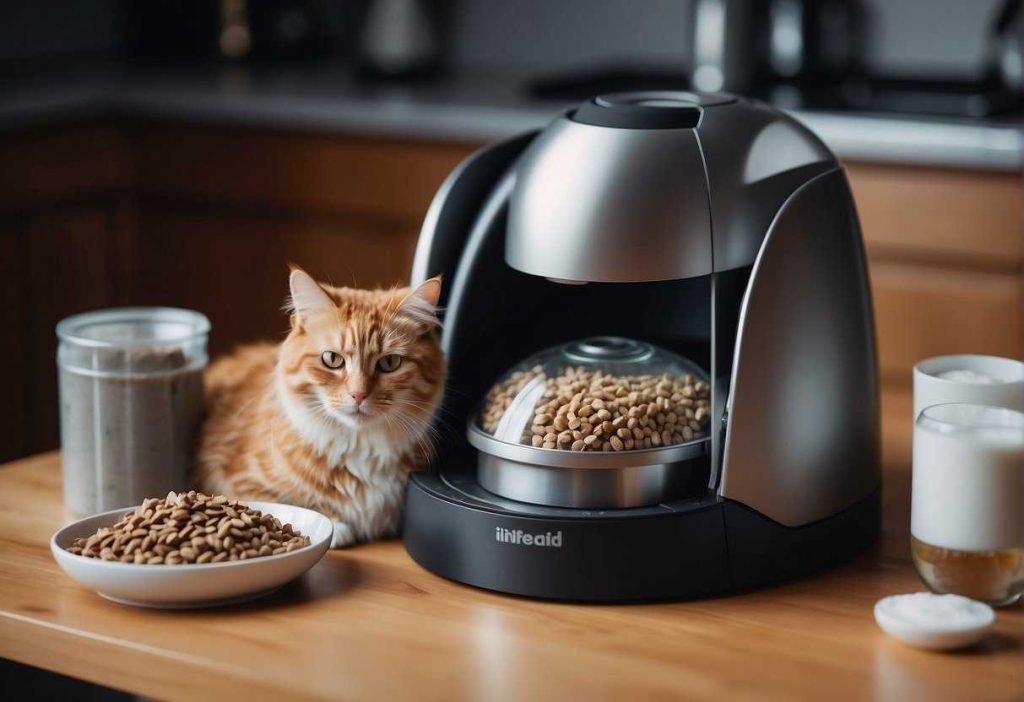
Maintaining the cleanliness of your automatic cat feeder is not just about hygiene; it’s about your beloved pet’s health and the longevity of the feeder itself.
Have you ever noticed how quickly your cat turns up its nose at food from a dirty bowl? Now imagine what could be lurking in a feeder you can’t easily see inside.
Cleaning it might seem daunting, but it’s crucial to prevent the growth of mold and bacteria, which can make your furry friend sick and hinder the performance of the feeder. (1)
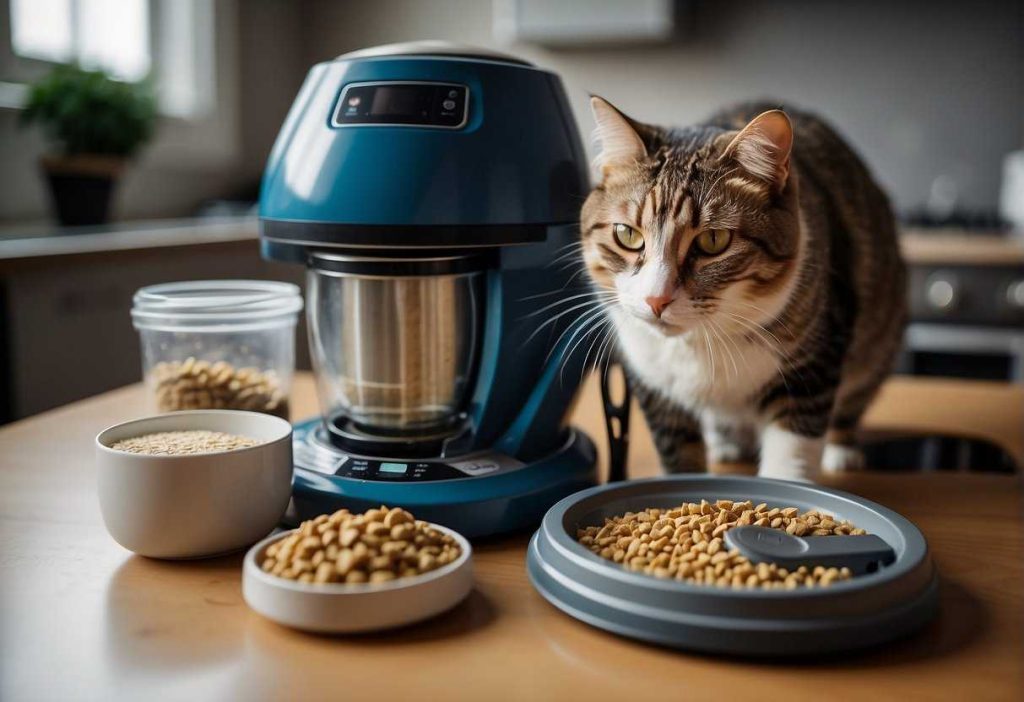
Regular cleaning is also essential to ensure the efficiency and longevity of your automatic cat feeder.
You’ve invested in your pet’s health by choosing an automatic feeder; keeping it in tip-top shape maximizes that investment. (2)
Plus, a clean feeder is less likely to jam or malfunction. Consider the peace of mind you’ll have to know that your cat is eating from a clean, fully functional feeder.
Pet parents, you might ever wonder about how to clean an automatic cat feeder, right? So, let me explain it through this article.
Key Takeaways
- The cleanliness of the feeder directly impacts your cat’s health and the device’s efficiency.
- Regular cleaning of the automatic feeder prevents mold, bacteria, and potential malfunctions.
- A clean and well-maintained feeder ensures the longevity of the device and the well-being of your pet.
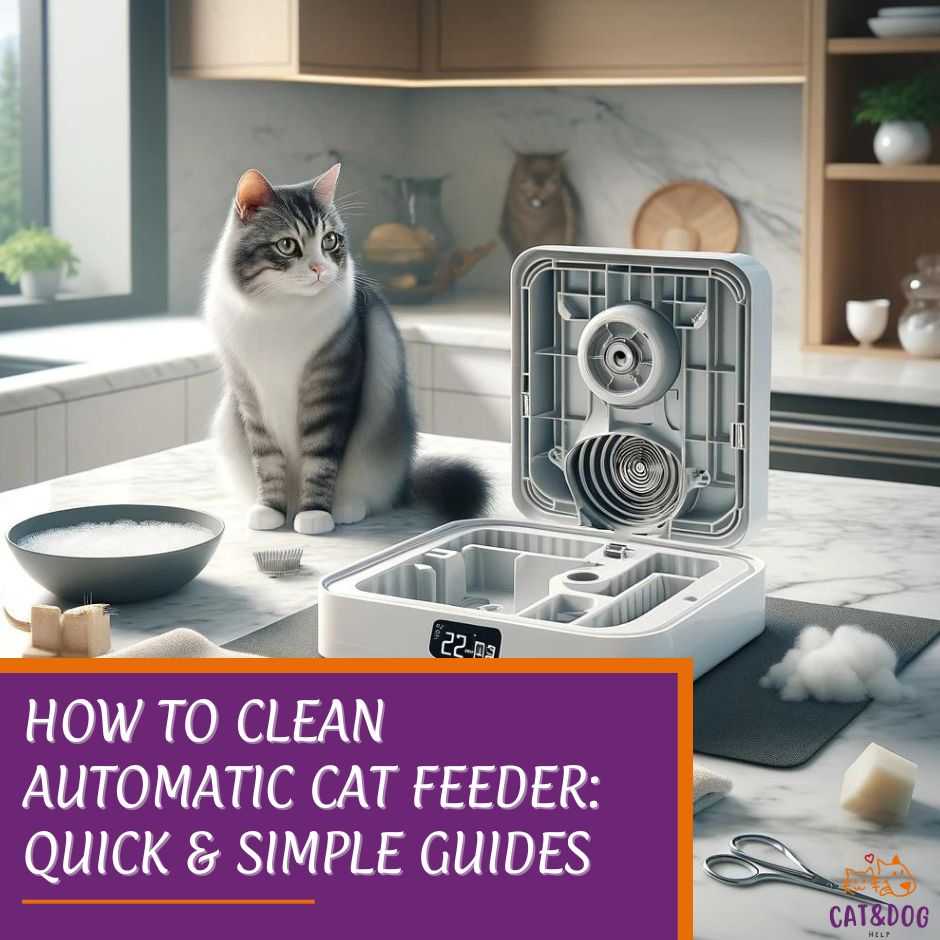
How to Clean Automatic Cat Feeder: Step-by-Step Cleaning Guide
Safety and Disassembly Instructions
Before you start, safety first! Make sure to:
- Unplug and remove any batteries.
- This is crucial to avoid any electrical mishaps.
Preparing Your Feeder for Cleaning
Start by taking your feeder apart. You’ll want to carefully:
- Separate all removable parts.
- Identify which parts are dishwasher-safe and which aren’t.
- Your user manual is great for this!
Detailed Cleaning Process
Now, let’s tackle those washable components:
Washing Washable Components
Do dishwasher-safe parts?
- Place them on the top rack of your dishwasher.
- Use a gentle cycle with mild detergent.
Prefer to do it by hand?
- Soak parts in warm, soapy water.
- Gently scrub with a soft brush or sponge.
- Rinse thoroughly with clean water.
Managing Non-Washable Parts
For those sensitive bits like electronic components:
- Use a damp cloth to wipe the surface.
- For nooks and crannies, cotton swabs are your friends.
- Keep water away from any electrical areas!
And there you have it! With these steps, your feline’s feeder will be fresh and ready for mealtime. Happy cleaning!
Utilizing Visual Aids for Effective Cleaning
Instructional Videos
First things first, have you checked out any instructional videos online? These gems often provide a step-by-step walkthrough, making the process a piece of cake.
- Search for videos specifically for your feeder model.
- Watch once without acting, to get a full grasp.
- Then, start the video again and clean as you go along.
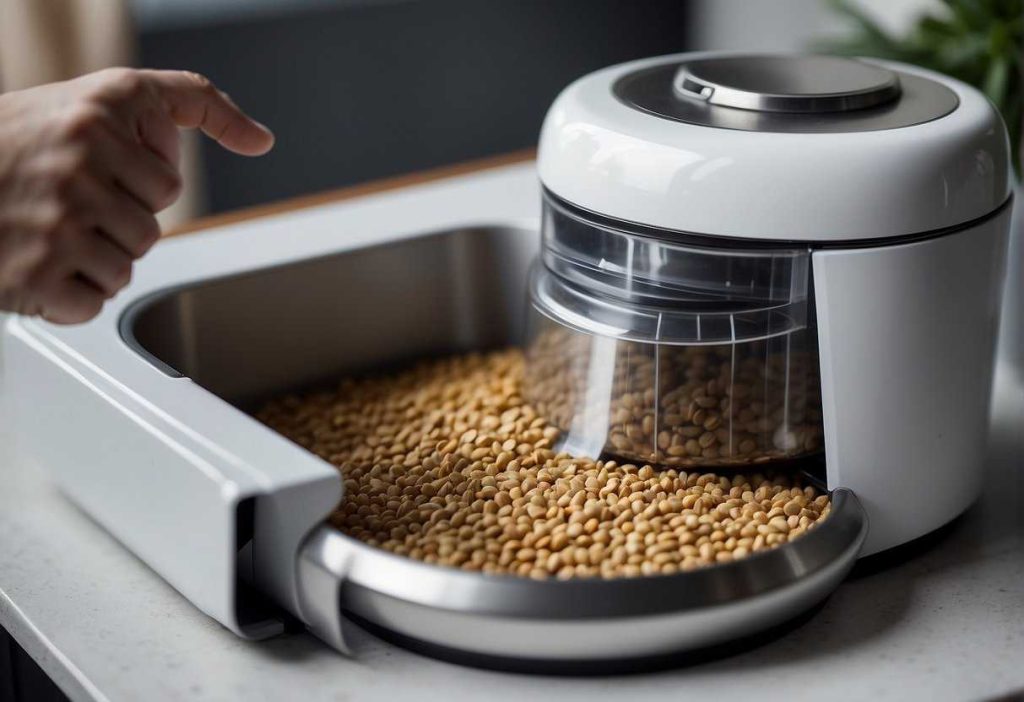
Step-by-Step Images
Not a fan of videos? No problem! Step-by-step images are a fantastic alternative. They allow you to take things at your own pace:
- Find a reliable guide with images.
- Print out or keep it open on your device.
- Follow the images as you disassemble, clean, and reassemble your feeder.
With these visual guides, cleaning becomes less of a chore and more like piecing together a simple puzzle.
Remember, visuals are your friends. Use them to ensure you don’t miss any nooks or crannies where cat food could hide.
Lastly, don’t be shy to rewind or review that image one more time. Your goal is to make that automatic cat feeder sparkling clean and safe for your whiskered companion.
And when done right, you might even feel a tiny spark of pride for mastering the art of cleaning with visual aids!
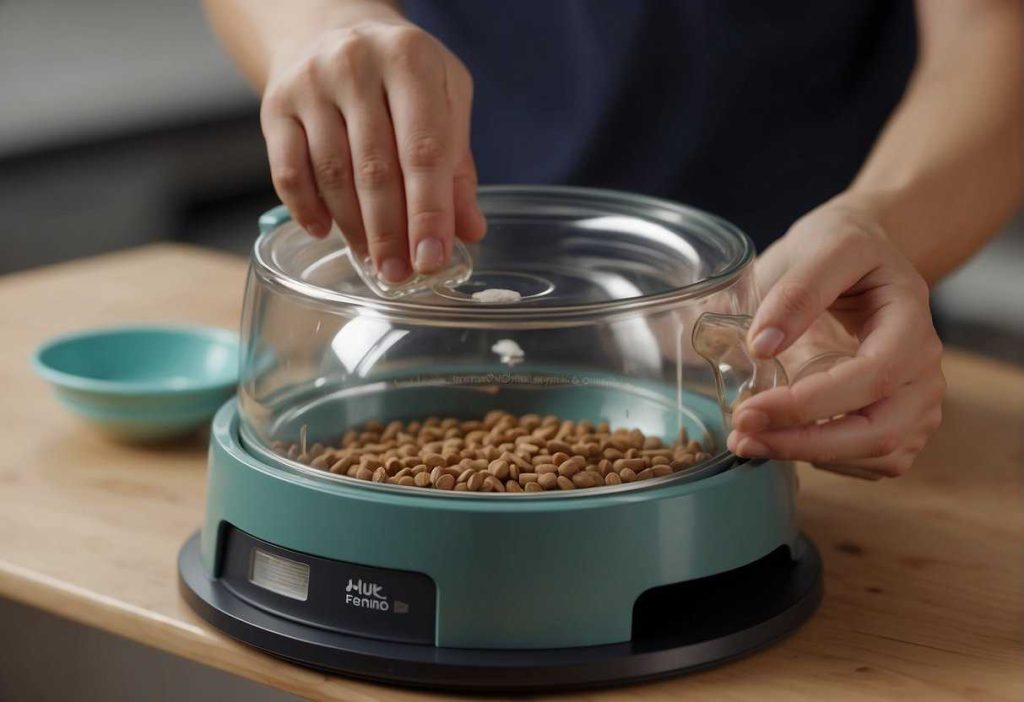
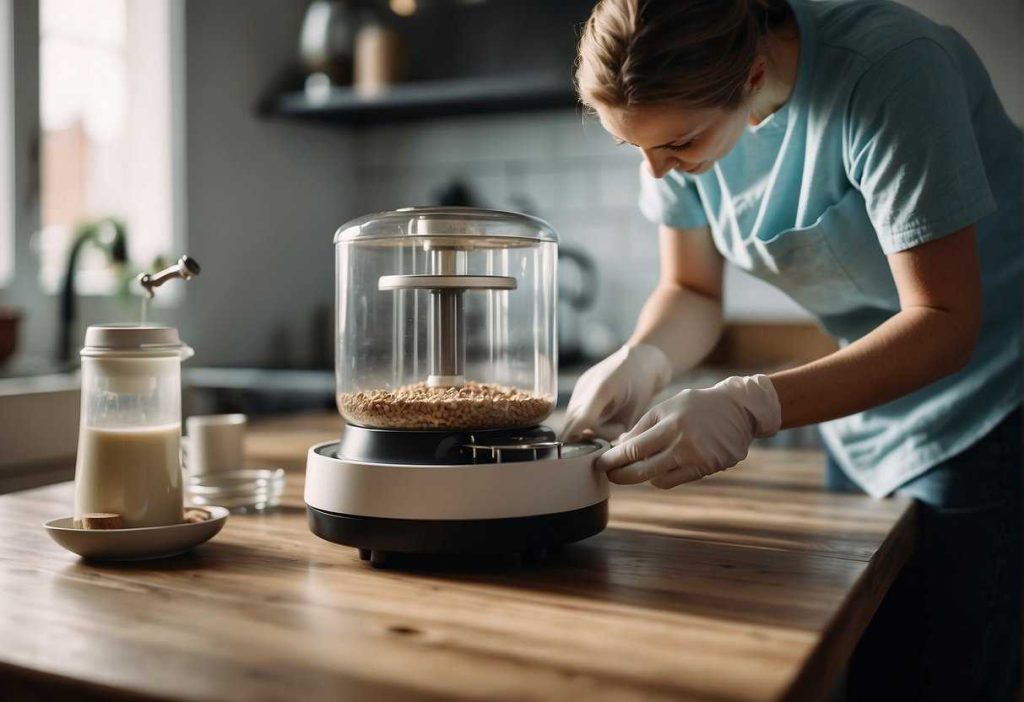
Follow these step-by-step images to properly clean and maintain your automatic pet feeder, including the feeder base and control panel.
Troubleshooting Common Issues During Cleaning
Stuck Components:
- Disassemble with Care: Sometimes, parts get stuck. Ensure your feeder is unplugged, then gently wiggle components free.
- If parts are designed to come apart, consult your manual—they usually have the trick.
- Use the Right Tools: A butter knife or a silicone spatula can be your best friend for prying without damage.
Water Sensitive Areas:
- Spot Clean: To avoid water damage, use a lightly damp cloth to clean the electronics area and immediately dry.
- Preventive Maintenance: Frequently wipe down areas around buttons and the display to prevent grime build-up that necessitates deep cleaning.
Blocked Chute:
- Clearing a food chute? Turn off the feeder first, then use a long, flexible cleaning brush. A single clean sweep should do it!
Drying After Cleaning:
- Air Dry: After washing, pat parts dry and let them air out completely to prevent mold or mildew.
- Avoid Heat Exposure: Keep parts out of direct sunlight or away from heaters to avoid warping.
Residue Buildup:
- Use a mild detergent or vinegar-water solution for stubborn residue. (3)
- An old toothbrush can work wonders for tight spots and crannies.
Remember, regular cleaning keeps things running smoothly and prevents most issues before they start.
Got all that? Great, your feeder—and your furry overlord—will thank you!
Tailoring Cleaning Practices to Your Feeder Model
Step-By-Step Guide for Removable Parts:
- Step 1: Unplug your feeder (Safety first!).
- Step 2: Disassemble any removable parts. Your manual should have a diagram if you’re feeling lost.
- Step 3: Check for dishwasher-safe marks. If you’re in luck, pop them into the dishwasher. If not, a bit of warm, soapy water will do the trick!
Did you know? Some feeders have integrated bowls that need a gentle hand wash. Always check!
For the Tech-Savvy Feeders:
- Be Gentle: Electronics and water? Not the best pals. Use a damp cloth to wipe the feeder’s body and a dry one to follow up.
- Avoid Harsh Chemicals: Gentle soap is your friend here. Keep those heavy-duty cleaners at bay. (4)
Quick Tip Table
| Feeder Part | Cleaning Method |
| Bowl | Dishwasher-safe (usually) |
| Hopper | Hand wash with mild detergent |
| Electronics | Damp cloth wipe |
Finally, dry everything thoroughly before reassembling. This isn’t just about cleanliness; damp leftovers can lead to mold, and we don’t want that, do we? Look at you, becoming a feeder-cleaning pro already!
Maintaining Feeder Cleanliness Through Preventive Measures
Routine Checks and Minor Cleaning
- Weekly Dust-off: Every week, give your feeder a quick once-over.
- A soft cloth can dust away any stray cat food bits that missed your furry friend’s mouth.
- Monthly Wipe-down: Monthly, a damp cloth with mild dish soap does wonders.
- Just a quick wipe on the feeder surface helps prevent grime buildup.
Ever notice little crumbs inside the feeder?
Use a small brush to gently sweep away those pesky particles from the dispensing mechanism.
Simplifying Maintenance to Prolong Cleanliness
- Keep dry food dry: Ensure your cat’s food is moisture-free to avoid clogging the feeder.
- Non-stick Sprays (Occasionally): A tiny bit of cooking spray on the food tray can make future cleanups a breeze.
Did someone say “sticky situation”? Avoid sugary treats in the feeder to sidestep a sticky mess.
Tips for reducing the need for frequent deep cleans.
- Feeder Mats: Place a cat-proof mat under the feeder to catch any enthusiastic eating fallout.
- Food Rotation: Regularly rotate the type of dry food to discourage pests and maintain freshness.
| Cleaning Frequency | Task | Pro-tip |
| Daily | Clear away loose food | A mini vacuum can be a game-changer |
| Weekly | Dust-off surfaces | Microfiber cloths attract dust |
| Monthly | Wipe with a damp cloth | Always unplug before cleaning |
Remember, these proactive steps can cut down the time you spend on your knees scrubbing and provide more quality time with your whiskered companion.
Because after all, isn’t that purr the best reward?
Directly Addressing Health and Safety Concerns
Regular Cleaning Schedule:
- Daily: Wipe down the bowl area to remove any food spills.
- Weekly: Wash all removable parts with warm, soapy water.
- Monthly: Deep clean the entire unit, using a solution of vinegar and water for natural disinfection.
Why bother with such frequent cleaning?
Consistency ensures that food particles don’t rot and mold doesn’t get cozy in the nooks and crannies of the feeder.
Health Risks to Mitigate:
- Bacterial infections from spoiled food (5)
- Obesity from overfeeding due to a malfunctioning feeder (6)
- Allergic reactions or illness from mold (7)
Pet Health Connection:
Let’s get into the nitty-gritty. A clean feeder directly relates to your cat’s health.
Remember, just because you can’t see germs, doesn’t mean they aren’t there!
Quick Tips for Cleanliness:
- Disassemble the feeder according to the manual.
- Inspect for worn or damaged parts that might harbor bacteria.
- Replace any components as needed to avoid malfunctions.
By following these steps, rest assured your cat is dining from a spick and span feeder—which quite literally could be the difference between good health and a vet visit.
Remember, a little effort goes a long way in keeping your cat happy and healthy!
Quick Recap
Disassembly
- Power Off: Make sure to turn off the feeder.
- Piece by Piece: Carefully disassemble removable parts.
Cleaning Basics
- Wash by Hand: Use warm, soapy water to clean each part.
- Be Gentle: Soft sponges are your best bet to avoid scratches.
- No Moisture Havens: Dry everything thoroughly to prevent mold.
Sanitization
- Weekly Date: Sanitize with a mild bleach solution (5%).
- Rinse Well: Any residue from cleaning agents? Not on your watch!
Reassembly
- Make sure those parts are bone-dry.
- Snap and screw everything back together correctly.
Maintenance Tips
- Regular checks are your secret weapon in the fight against wear and tear.
- A quick visual inspection before refilling can save the day.
Following these steps ensures a happy feeder and a happier cat.
Remember, it’s not just about feeding; it’s about caring. Your buddy deserves the best, right? Keep things tidy, and you’re golden!
Frequently Asked Questions
Maintaining a clean automatic cat feeder is essential for your feline’s health and the longevity of the device. Here’s the scoop on the most common queries.
How often should I clean my automatic cat feeder?
You should clean your automatic cat feeder at least once a week to ensure that food residues don’t build up and lead to bacterial growth.
Can I put parts of my automatic cat feeder in the dishwasher?
Some feeders have dishwasher-safe components. Consult your model’s manual to confirm which parts you can place in the dishwasher for easy cleaning.
What is the safest way to clean the electronic components of my feeder?
For electronic parts, unplug the feeder and wipe them with a soft, dry cloth.
If necessary, slightly dampen the cloth with water, avoiding any openings, and never submerge the components in water.
How do I disassemble my automatic cat feeder for cleaning?
Reference the user manual for your specific model to understand how to properly disassemble it.
Usually, there are removable parts designed to come apart without tools.
What should I do if parts of the feeder are hard to reassemble after cleaning?
Ensure all components are thoroughly dry, and double-check the assembly instructions.
If parts still won’t fit, contact the manufacturer for support.
Are there any specific cleaning solutions I should use or avoid?
Avoid harsh chemicals that can leave harmful residues. Stick to mild detergents or a solution of vinegar and water for natural cleaning.
How can I prevent mold growth in my cat’s feeder?
Keep the feeder dry and clean. Regularly dispose of old food. Consider adding a few rice grains to the food storage area to absorb excess moisture.

- The Ultimate Overview to Actual Cash Gambling Establishments - July 1, 2025